
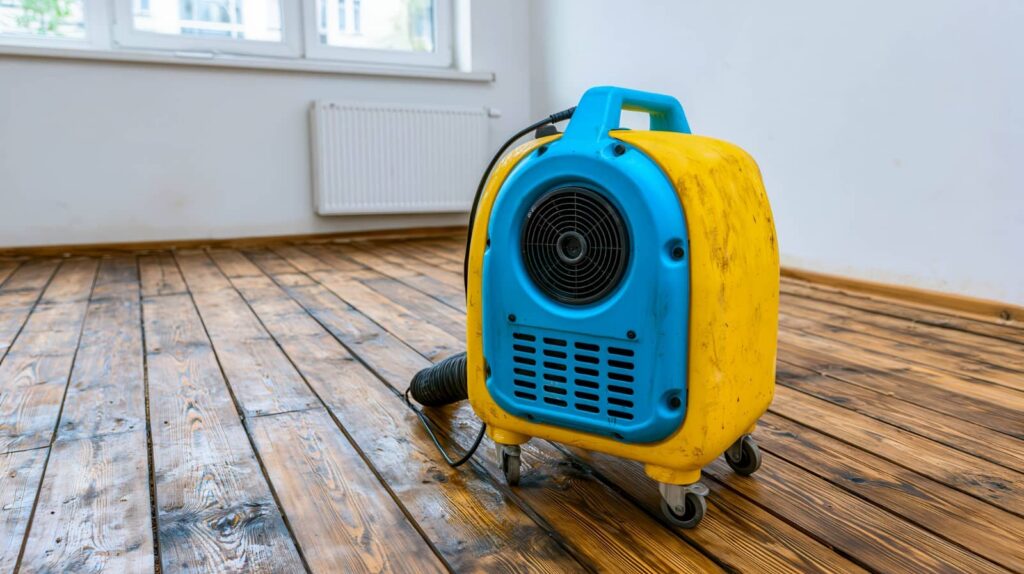
When water intrudes, when damage threatens, and when your home feels like a soggy mess, you need effective solutions. Knowing how to tackle home water removal can save you time and money. From identifying the source to using the right tools, each step plays a vital role. But what happens if you miss a detail or if mold starts creeping in? Let’s explore the essential tips that can make all the difference in your home’s recovery.
Key Takeaways
- Identify the water source and address it to prevent future issues, involving family for teamwork and awareness.
- Gather essential tools, including buckets, mops, and a wet/dry vacuum, for efficient water removal.
- Use a wet/dry vacuum to quickly extract water, ensuring the filter is clean for optimal performance.
- After vacuuming, use absorbent towels and mops to eliminate remaining moisture and prevent mold growth.
- Dry affected areas within 48 hours and maintain indoor humidity below 60% to discourage mold development.
Identify the Source of Water First
Before you start any water removal process, it’s essential to identify the source of the water. Whether it’s from flood causes like heavy rainfall or a hidden plumbing issue, knowing where the water’s coming from can save you a lot of trouble.
Begin with leak detection around pipes, windows, and roofs. Look for damp spots or mold growth, as these often signal a bigger problem. If you notice water pooling, trace it back to its origin—this could help prevent future incidents.
Engaging your family in this process makes it easier and fosters a sense of belonging, as everyone contributes to keeping your home safe and dry.
Gather Essential Tools for Efficient Water Removal
Once you’ve pinpointed the source of the water, gathering the right tools is essential for efficient removal.
Start by collecting essential equipment like buckets, mops, and towels. These basics are great for immediate clean-up. You might also want a submersible pump if you’re dealing with larger volumes of water.
Consider a moisture meter to assess damp areas for effective drying. If you’re looking into water removal techniques, adding a dehumidifier can help you tackle lingering humidity.
Finally, don’t forget gloves and protective eyewear to keep yourself safe.
With the right tools at hand, you’ll feel more empowered to take control of the situation and restore your space quickly.
Use a Wet/Dry Vacuum for Quick Extraction
Grab your wet/dry vacuum and get ready for a fast and effective water removal process. These powerful tools are essential when you’re tackling standing water in your home.
With strong suction power, they can quickly extract water from carpets, floors, and other surfaces, making your job so much easier.
Before you start, check your vacuum maintenance—ensure the filter is clean and the tank is empty for peak performance.
As you vacuum, move slowly to allow the suction to do its job efficiently. Don’t rush; you want to remove as much moisture as possible.
Once you’ve extracted the bulk of the water, you’ll feel a sense of accomplishment knowing you’ve taken a big step toward restoring your space.
After Vacuuming, Use Towels and Mops for Final Touches
After you’ve vacuumed up the bulk of the water, grab some towels and mops to tackle any remaining moisture.
This step is essential for absorbing excess dampness, which helps prevent mold growth.
Don’t underestimate the power of a good wipe-down—it’s key to keeping your space dry and safe.
Absorb Excess Moisture
To effectively absorb excess moisture after vacuuming, you’ll want to reach for some absorbent towels and a mop. These tools are essential for tackling any remaining dampness.
Start by using the towels to blot up moisture—this is one of the simplest moisture absorption techniques. If you prefer natural absorbents options, consider using baking soda or even cloths made from microfiber, which can enhance your efforts.
After blotting, mop the area to ensure you pick up any lingering water. This step not only helps in drying but also keeps your home feeling fresh.
Prevent Mold Growth
Once you’ve blotted up excess moisture, it’s essential to focus on preventing mold growth. Mold thrives in damp environments, so effective moisture control is vital.
Here are three practical steps to help you:
- Use Towels: After vacuuming, utilize clean, dry towels to soak up any remaining water. This helps reduce humidity levels.
- Mop Floors: For hard surfaces, mop with a mixture of water and vinegar. This not only cleans but also discourages mold growth.
- Ventilate: Open windows and circulate air to further dry out the area. Fresh air is your ally in mold prevention.
Use Fans and Dehumidifiers to Dry Out Spaces
Using fans and dehumidifiers can greatly speed up the drying process in water-damaged areas of your home. To maximize their effectiveness, focus on proper fan placement. Position fans to create airflow across damp surfaces, directing the air toward windows or doors to help moisture escape.
Aim for a cross-ventilation setup by placing fans in opposite corners of the room.
For your dehumidifier settings, keep it at a low humidity level—around 30-60%—for ideal moisture removal. Empty the water reservoir frequently to maintain efficiency.
Inspect Walls and Floors for Hidden Water
While you might focus on visible damage, hidden water can lurk in walls and floors, causing long-term issues if left unchecked.
To effectively inspect for hidden leaks, consider these steps:
- Check for discoloration: Look for dark spots or stains on walls and floors, as these can signal moisture accumulation.
- Use a moisture meter: Invest in a moisture detection tool to identify damp areas that aren’t visible to the naked eye.
- Listen for sounds: Pay attention to unusual sounds, like dripping or running water, which might indicate hidden leaks.
Prevent and Treat Mold Growth After Water Damage
After water damage, it’s essential to act quickly to prevent mold growth, as even a small amount of moisture can lead to serious problems.
Start by drying out affected areas within 24 to 48 hours. Use fans and dehumidifiers to speed up the drying process.
For mold prevention, maintain indoor humidity below 60% and ensure proper ventilation in rooms like kitchens and bathrooms.
If you spot mold, don’t panic; mold remediation can be straightforward. Clean small patches with a mixture of water and detergent, or consider a commercial product.
For larger infestations, it’s wise to consult professionals.
What Belongings to Move First for Water Damage Protection
When water damage strikes, prioritizing which belongings to move first can greatly reduce loss and stress.
Start by focusing on these key items:
- Sentimental Items: Always grab photographs, heirlooms, and anything that holds personal value. These can’t be replaced.
- Electronics: Move laptops, tablets, and phones to a dry area. They’re essential for communication and can be expensive to replace.
- Valuable Furniture: Prioritize moving items like antiques or high-end pieces.
Furniture prioritization is vital, as some pieces may be more vulnerable to water damage than others.
When Should You Call in the Pros?
Once you’ve secured your belongings, it’s time to assess the situation and determine if professional help is necessary.
In certain water damage scenarios, DIY efforts just won’t cut it. If you notice mold growth, lingering moisture, or structural damage, it’s wise to call in the pros. A professional assessment can uncover hidden issues that might escalate if left untreated.
Additionally, if the water comes from sewage or flooding, it’s essential to involve experts to ensure safety and proper cleanup.
Don’t underestimate the complexity of water damage; addressing it promptly can save you time and money in the long run.
Trust your instincts—if it feels overwhelming, seeking professional help is always a smart choice.
Create a Water Emergency Plan for the Future
Creating a water emergency plan is essential for minimizing damage and ensuring safety during a crisis. By being prepared, you can protect your home and loved ones.
Here are three key steps to get you started:
- Identify Emergency Contacts: Keep a list of important numbers, including local emergency services, family members, and your insurance provider.
Make sure everyone knows where to find this list.
- Map Out Evacuation Routes: Designate safe routes to exit your home and reach higher ground, if needed.
Practice these routes with your family.
- Assemble an Emergency Kit: Include essentials like water, non-perishable food, and first-aid supplies.
Store it in an accessible location.
Frequently Asked Questions
Can I Use Regular Household Fans Instead of Industrial Ones?
Yes, you can use regular household fans, but their efficiency may be lower than industrial ones. For effective drying techniques, position fans strategically to enhance airflow and speed up moisture evaporation in your space.
How Long Does It Take for Water Damage to Show?
Water damage can show up within a few hours, but don’t wait for the other shoe to drop. Keep an eye out for early warning signs; a water damage timeline can save you headaches later.
Is Bleach Effective for Mold Removal After Water Damage?
Yes, bleach can effectively remove mold, but it’s not always the best choice. Consider bleach alternatives like vinegar or hydrogen peroxide for mold prevention, as they’re safer and often just as effective in your cleanup efforts.
What Are the Signs of Structural Damage After Flooding?
After flooding, watch for cracks in walls, sagging ceilings, or warped floors. These signs indicate potential structural damage, threatening your home’s structural integrity. Addressing them early helps ensure your space remains safe and welcoming.
How Often Should I Check My Water Emergency Plan?
You should check your water emergency plan at least twice a year. Regular updates ensure your water safety and boost your emergency readiness. Keeping everyone informed fosters a sense of community and preparedness in challenging times.
Summary
In the face of water intrusion, your home can feel like a ship caught in a storm. But with these DIY tips, you’re not just bailing water; you’re steering your vessel to safety. By identifying the source, using the right tools, and drying out spaces promptly, you can prevent mold from taking root. Remember, every drop you manage today keeps your home dry and healthy tomorrow. Stay vigilant, and let your preparedness be the lighthouse guiding you through future storms.