
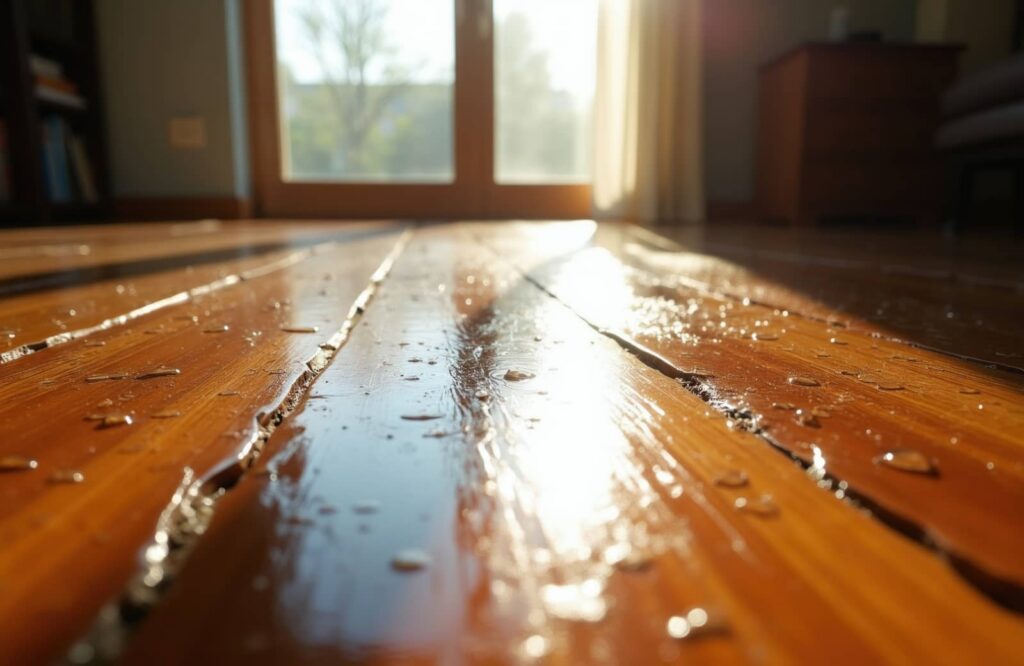
When your home turns against you, where do you even start? Restore After Property Damage starts by stopping the damage at its source, making the space safe, and documenting everything before moving quickly on water removal and drying. You’ll also need to watch for contamination, mold, and hidden structural issues as you work through each step. Follow the right order, and you can bring your property back with less stress and fewer surprises than you might expect.
Key Takeaways
- Ensure the area is safe, shut off electricity if needed, and stop the water source immediately.
- Document all damage with photos and notes for insurance claims before moving or discarding items.
- Remove standing water quickly and dry the space with pumps, fans, open windows, and moisture checks.
- Clean contaminated areas safely, discard unsalvageable porous materials, and watch closely for mold growth.
- Coordinate repairs, insurance communication, and professional restoration help to return the home to safe, functional condition.
What to Do First After Water Damage?
First, make sure the area is safe—turn off electricity in the affected space if you can do so without risk, and stop the water source if it’s still leaking.
Then, take a breath and check on everyone in your home. If you need help, call emergency contacts right away so you’re not handling this alone.
Next, document the damage with clear photos and short notes; this will support insurance claims and help you stay organized.
Move important items to a dry place if you can do it safely, and avoid using anything wet or damaged until a professional checks it.
You’re not expected to fix everything today. Focus on the next right step, stay calm, and lean on your support network as you begin recovery together.
Stop the Water Source and Stay Safe
If you can do it safely, shut off the water at the main valve or the nearest shutoff point to stop more damage from spreading.
Once the flow stops, protect yourself and anyone with you by following basic safety protocols. Turn off electricity in affected areas if there’s any chance water reached outlets, cords, or appliances.
Keep kids and pets away from the wet space, and wear shoes with good traction. Use flashlights instead of candles, and keep your emergency kits close so you’re ready if conditions change.
If you smell gas, hear unusual sounds, or can’t reach the shutoff safely, leave and call for help. Staying calm helps you make smart choices, and you’re not handling this alone.
Remove Standing Water Fast
Once you’ve stopped the water at the source, remove standing water as quickly as you can.
Use a pump, wet vac, or buckets to clear it out fast and limit further damage.
The sooner you act, the better you can protect your floors, walls, and belongings.
Stop Water at Source
Cut the water off at the source as quickly as you can, then remove any standing water to limit further damage.
If you can safely reach the shutoff valve, turn it off right away. If not, call your utility company or a trusted professional for help.
Check the water source carefully and use simple leak detection steps, like looking for dripping pipes, wet spots, or a running meter.
You’re not alone here; many people face this exact problem and recover well with quick action.
Keep children and pets away from the area, and avoid using outlets near moisture.
Once the flow stops, note what you see so you can explain it clearly to your restoration team.
Calm, fast decisions now can protect your home and help you feel in control.
Pump Out Quickly
With the water source stopped, move fast to remove any standing water before it soaks deeper into floors, walls, and furniture.
Choose the right pump selection for the volume you’re facing: a submersible pump works well for shallow flooding, while a utility pump can help with thicker messes.
If you don’t own the right gear, equipment rental can get you moving quickly without delay.
Place the pump in the lowest area, direct discharge safely away from the building, and keep checking for new pooling.
You’re not doing this alone; many homeowners face the same first hours after damage.
Stay calm, work steadily, and keep air moving as water drops.
The sooner you clear it, the better your chances of protecting your space.
Dry Water-Damaged Walls and Floors
Check the moisture in your walls and floors so you know what still needs attention.
Then increase air circulation with fans and open windows to help things dry out steadily.
Remove any damp materials that can hold water and slow the drying process.
Assess Moisture Levels
Before you repair water-damaged walls or floors, you need to confirm they’re truly dry. You can use moisture detection tools to check hidden dampness in drywall, subfloors, and trim, not just the surface.
Compare readings in damaged areas with nearby undamaged spots so you know what’s normal for your home. If the numbers stay elevated, keep waiting before you close things up.
You should also watch indoor humidity control, because high humidity can slow drying and let moisture linger in materials. Aim for a stable, comfortable level while you monitor progress.
When you take time to verify dryness now, you protect your space, reduce the risk of future problems, and move forward with confidence alongside others who’ve handled the same challenge.
Increase Air Circulation
Open windows and doors when weather and security allow, and use fans to move air across wet walls and floors so moisture can evaporate faster.
Position each fan so it pushes air along the surface, not straight into one spot, and adjust fan placement to create steady cross-breezes. You can also angle fans from opposite sides of a room to support balanced airflow techniques.
Keep pathways clear enough for air to travel freely, and rotate fans if some areas dry more slowly. If you’re working with a closed space, run ventilation fans as well.
These simple steps help you support a safer, calmer recovery. You’re not doing this alone; each smart move brings your home closer to normal, one dry surface at a time.
Remove Damp Materials
Once the air is moving, turn your attention to any materials that stayed damp. You’ll protect your home and your peace of mind by acting quickly. Remove wet drywall, carpet padding, insulation, and baseboards that can’t dry fully.
If a surface feels soft, warped, or smells musty, it’s safer to replace it. Keep a trash bag or bin nearby for material disposal, and wear gloves and a mask while you work.
- Cut out soaked sections cleanly
- Bag debris before carrying it out
- Check hidden spots for trapped moisture
This step supports mold prevention and helps your space recover more smoothly. You’re not doing this alone; steady, careful removal gives your walls and floors a better chance to dry properly and feel like home again.
Handle Sewage Cleanup Safely
Sewage cleanup needs to be handled quickly and carefully because contaminated water can spread bacteria and create serious health risks. You should keep kids and pets away, then open windows if it’s safe to air out the space.
Wear protective clothing, gloves, boots, and a mask before you enter. If you have cleanup equipment, use it only after checking that it’s designed for sewage hazards.
Don’t touch porous items that soaked up contamination; set them aside for removal by professionals. Bag waste securely and wash your hands often.
If the spill is large, backs up from drains, or reaches electrical areas, call trained help right away. You’re not dealing with this alone, and taking calm steps now helps protect everyone in your home.
Repair Flood Damage and Prevent Mold
After floodwater is gone, you need to dry the area fast and remove anything that can’t be safely saved. Open windows, run fans, and use dehumidifiers to support moisture control.
Clean hard surfaces with soap and water, then disinfect to reduce hidden contamination. Stay alert for musty smells, warping, or discoloration, since these signs can mean mold is starting. For mold prevention, keep damp materials out of the space and dry wet items within 24 to 48 hours.
- Pull up soaked carpets and padding
- Check walls, baseboards, and insulation
- Watch humidity and keep it low
You’re not facing this alone; steady cleanup and quick drying help protect your home and give you a safer, healthier place to recover.
Restore Your Home or Business
With the cleanup complete, you can start restoring your home or business by focusing on safety, function, and the most important repairs first.
Check for hidden damage, confirm utilities are safe, and replace materials that can’t be saved. Then prioritize walls, flooring, wiring, and plumbing so your space works again.
Keep detailed photos and receipts to support insurance claims, and stay in touch with your adjuster as repairs move forward.
If the project feels bigger than you expected, call trusted restoration services to help you plan, coordinate, and finish the work with care.
You don’t have to do everything at once. Take each step steadily, and your space will begin to feel familiar again.
Frequently Asked Questions
How Soon Should I File an Insurance Claim After Property Damage?
File your insurance claim as soon as you can, ideally within 24 to 72 hours, so you meet the insurance claim timeline and documentation requirements. You’re not alone—quick action helps protect your coverage and peace of mind.
Can I Stay in My Home During the Restoration Process?
Yes, you can sometimes stay in your home during restoration if safety considerations allow. You’ll need temporary housing if crews handle structural damage, mold, or utilities. Your contractor should help you decide calmly and clearly.
How Do I Choose a Reliable Restoration Company?
Choose a restoration company by checking credentials verification, customer reviews, and clear estimates. You’ll feel more secure when they’re licensed, insured, responsive, and willing to explain each step, so you can trust their care.
What Belongings Can Be Saved After Severe Property Damage?
You can often save sturdy furniture, electronics, photos, and important papers after severe damage. Prioritize furniture salvage and document recovery first, then clean, dry, and assess each item carefully with trusted help.
How Long Does a Full Property Restoration Usually Take?
A full property restoration usually takes days to months, depending on the damage assessment and restoration timeline. You’ll move faster when you act quickly, stay informed, and lean on a team that keeps you supported throughout.
Wrap-Up
When disaster leaves its mark, you can still take back control, one steady step at a time. Stop the source, dry the space, clean what’s contaminated, and keep an eye out for mold—small actions, big difference. Work with your adjuster, check the repairs, and bring your belongings home gradually. Piece by piece, your property can feel safe again, and you can breathe easier knowing you’re moving forward with purpose.