
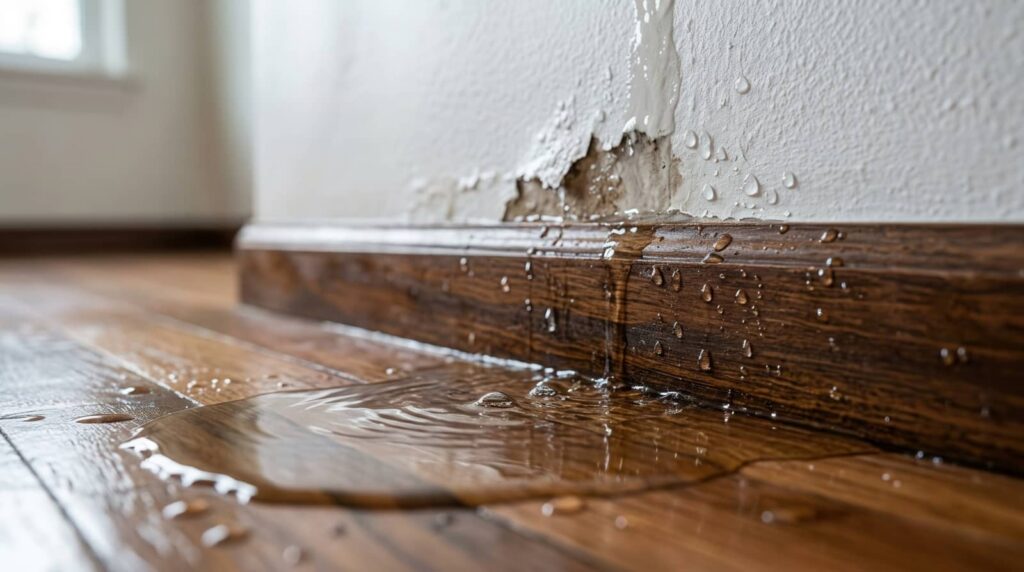
When moisture hits your property, you need a clear response plan, not guesswork. Moisture Repair and Cleanup starts by assessing the damage, then removing standing water, drying affected materials, and sanitizing every exposed surface. If sewage or biohazard waste is present, you’ll need specialized cleanup before any repairs begin. The real challenge isn’t just recovery, it’s stopping hidden moisture from turning into a bigger problem.
Key Takeaways
- Inspect all moisture-affected areas with meters, photos, and room labels to document damage and prioritize repairs.
- Remove standing water quickly with pumps, then use wet vacuums, air movers, and dehumidifiers for controlled drying.
- Clean and sanitize surfaces with detergent and approved disinfectants, following required contact times and drying procedures.
- Isolate sewage or biohazard contamination immediately, bag contaminated materials, and dispose of them according to local regulations.
- Repair only after materials are dry, then replace damaged drywall, flooring, and framing while preventing future leaks and flood intrusion.
Assess Flood Damage and Moisture
Before you start cleanup, assess the flood damage and identify every area affected by moisture. You’ll build a reliable moisture assessment by checking walls, baseboards, insulation, flooring, and hidden cavities with a meter and visual inspection.
Document the flood impact with photos, notes, and room-by-room labels so you can prioritize repairs and track progress. Watch for staining, swelling, musty odors, and soft surfaces, because these signals show where water migrated beyond the visible line.
If you detect elevated readings, mark those zones for follow-up and keep unaffected areas separated. This method helps you stay organized, reduce missed damage, and work with confidence alongside others who’re restoring the space.
Clear assessment now supports safer, faster decisions later.
Extract Standing Water Fast
You need to pump out standing water first to reduce saturation and stop further material damage.
After bulk removal, use a wet vacuum to extract remaining water from floors, seams, and low spots where water collects.
This fast removal step lowers moisture levels quickly and prepares the area for drying and cleanup.
Pump Out Water
Start by pumping out standing water as fast as possible to stop further absorption into flooring, drywall, and insulation.
You’ll use submersible or transfer pumps sized to the water depth and volume, then route discharge to a safe exterior drain or containment point.
Keep power cords elevated, check for debris, and monitor the pump so it doesn’t run dry.
This step fits into water removal techniques that rely on rapid source control and clear emergency response planning.
When you act quickly, you protect structural materials, reduce microbial risk, and keep your team working in a safer, more organized space.
If the water level drops unevenly, reposition the intake and continue until only a thin residual layer remains.
Then you’re ready for the next cleanup phase.
Wet Vacuum Removal
Once pumping has reduced the water level, switch to a wet vacuum to pull up the remaining standing water quickly and control residual moisture.
You’ll move faster when you match the tool to the job: tank units handle larger spills, while portable wet vacuum types fit tight rooms and stairs.
Work in overlapping passes, keep the nozzle sealed to the surface, and empty the tank before it reaches capacity to preserve suction.
If you’re part of a crew, coordinate one person at the vacuum and another at doorways or drains so you stay efficient and safe.
Check wet vacuum maintenance after each use: clean filters, inspect hoses, and dry the tank to prevent odor, corrosion, and performance loss.
Dry Out Walls and Floors
Before repairs can begin, walls and floors need fast, controlled drying to prevent hidden moisture from lingering and causing mold, swelling, or structural damage.
You should set up air movers and dehumidifiers to drive evaporation while you monitor progress with moisture detection tools.
Check baseboards, subfloors, and wall insulation so you catch damp pockets before they trap water behind finishes.
Open cavities only when readings stay elevated, and keep airflow aimed across wet surfaces, not directly into them.
If you’re working with a team, assign one person to log readings so everyone stays aligned.
Continue drying until materials reach safe, stable levels.
That disciplined approach protects the structure, shortens recovery time, and helps your space feel sound, dry, and ready for the next step.
Clean and Sanitize Surfaces
With the structure dried to safe levels, you can clean and sanitize all exposed surfaces to remove residue, microbial contamination, and odor-causing material.
Start with surface cleaning using a detergent solution and clean microfiber cloths to lift soil before applying disinfecting agents. Work methodically across walls, trim, hard flooring, cabinets, and fixtures, changing cloths often so you don’t spread contamination.
Follow product contact times exactly, because shortened dwell time reduces performance. Rinse surfaces only when the label requires it, and dry them with airflow to limit streaking and recontamination.
You’ll protect the space and help everyone feel confident returning to a fresh, stable environment. Inspect for missed areas, then repeat treatment where staining or film remains.
Remove Sewage and Biohazard Waste
You must contain sewage immediately by isolating the affected area, stopping spread at the source, and removing standing waste with proper extraction equipment.
You should treat all contaminated material as biohazard waste, bag and label it per disposal protocols, and transport it through approved channels only.
After removal, you’ll sanitize and decontaminate all exposed surfaces to reduce microbial load and restore safe conditions.
Sewage Containment Steps
Contain sewage contamination immediately by isolating the affected area, shutting off HVAC flow to limit aerosol spread, and removing all visible sewage and porous biohazard waste with proper PPE.
You protect your space by applying containment strategies that support sewage safety and keep the cleanup controlled.
- Seal door gaps with plastic sheeting.
- Post entry limits so everyone stays clear.
- Wet-clean surrounding hard surfaces to reduce spread.
- Track damp materials for removal before reopening.
You should keep pressure negative if possible, and you’ll reduce cross-contamination by moving from clean zones to dirty zones only.
When you act fast, you help your team stay aligned, confident, and safe while the area remains contained.
Biohazard Disposal Protocols
Once you’ve isolated the area, remove sewage-soaked materials and other biohazard waste in sealed, leakproof bags or containers before they can spread contamination.
You should wear PPE, keep waste segregated, and double-bag sharp or saturated items to reduce puncture and leak risk.
Label each container clearly so your team can track the load and support biohazard safety during transport.
Follow local disposal regulations for pickup, manifesting, and approved transfer sites; never mix hazardous debris with regular trash.
If you’re working with others, assign one person to handle bagging and another to verify closure and staging.
Keep pathways clear, use rigid carts when needed, and move waste out promptly so your crew stays coordinated, compliant, and confident.
Sanitization And Decontamination
After removal of sewage-soaked materials and biohazard waste, sanitize all affected surfaces and decontaminate the area with an approved disinfectant matched to the contaminant and required dwell time.
You’ll protect your space and your team by following strict sequencing and verification. Use containment, PPE, and ventilation to control spread.
- Pre-clean visible residue before disinfecting.
- Apply the product evenly and keep surfaces wet for the full dwell time.
- Rinse or neutralize when the label requires it.
- Inspect for odor, staining, and hidden moisture to support mold prevention and air purification.
Document each step, then retest affected zones.
When you work methodically, you restore safety, reduce recontamination, and keep your recovery effort aligned with professional standards.
Repair Flood-Damaged Walls and Floors
Before you rebuild, inspect flood-damaged walls and floors for structural compromise, hidden moisture, and microbial growth so you can repair the right materials and prevent recurring damage.
You’ll remove saturated drywall, insulation, baseboards, and warped flooring until you reach sound, dry framing and subflooring. Cut back materials at clean edges, then document damage for insurance claims before disposal.
Use moisture meters to verify acceptable readings in wood, concrete, and gypsum. Replace compromised framing members, fasten new sheathing securely, and seal seams with code-compliant products.
Install new drywall and flooring only after the cavity is dry; this supports mold prevention and a healthier finish. Work methodically, test frequently, and keep your repair team aligned so everyone restores the space with confidence.
Prevent Future Flood Damage
With the repairs complete, you can reduce the chance of another loss by addressing how water reaches the building in the first place. Inspect grading, gutters, downspouts, and foundation seals, then correct any path that lets runoff pool near your walls.
- Extend downspouts at least 6 feet.
- Clean roof drains before storm season.
- Seal cracks in the slab and siding.
- Test sump pumps and backup power.
You’re building a safer space when you track moisture levels, install backflow valves, and keep valuables above expected flood height.
These preventive measures work best when you maintain them on a schedule and document repairs for future claims. Review flood insurance annually so your coverage matches your current risk, and update deductibles if your exposure changes.
Frequently Asked Questions
How Soon Should I File an Insurance Claim After Flooding?
File your insurance claim immediately after flooding, ideally within 24 hours, because flood damage documentation weakens fast. You’ll protect the claim process, speed adjustments, and stay aligned with your recovery team’s expectations and coverage requirements.
Can I Stay in My Home During Moisture Repair?
You can stay home during moisture repair if professionals confirm moisture safety and preserve home comfort. If they discover hidden mold, structural damage, or active drying equipment risks, you’ll need to relocate temporarily for protection.
What Signs Indicate Hidden Mold Growth After Cleanup?
You’ll notice hidden mold growth through musty odors, recurring stains, warped materials, or persistent dampness. Use mold detection tests and inspect behind walls. Don’t ignore health risks like coughing, headaches, or irritation.
Are Professional Moisture Meters Worth the Cost?
Yes—if you love surprises, skip one; otherwise, professional moisture meters usually pay off. You’ll gain moisture meter benefits in faster detection and a clearer cost analysis, helping you protect your space and join the informed group.
How Do I Choose a Reliable Flood Restoration Contractor?
Check contractor qualifications, verify restoration services, and ask for IICRC certification, insurance, references, and detailed moisture-drying plans. You’ll protect your home, join a trusted client community, and avoid costly mistakes.
Summary
When you tackle moisture repair fast, you stop damage from spreading like a dark stain creeping across a wall. You inspect, extract, dry, clean, and sanitize with precision, then repair only after every surface is fully dry. If sewage or biohazards are involved, you handle waste with the right protective steps. By maintaining drains and monitoring risk, you protect your property from hidden mold, warped materials, and costly future floods.